Installing a Wrangler steering stabilizer

TerryMason

Administrator
Staff member
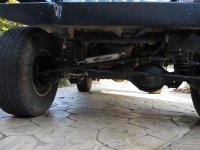
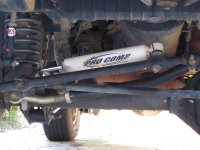
Replacing the steering stabilizer on your Jeep Wrangler is a pretty straight forward process, and a great way to get your feet wet if you're new to working on Jeeps. The purpose of a stabilizer is to absorb vibrations from the front tires and road without passing them up the steering wheel to you. The stabilizer itself is really just a shock that is mounted horizontally, one end attached to the front axle, and the other end attached to your steering system (via the draglink). Replacing it is just a matter of unbolting the stock one and bolting up the new one.

For this install I choose a Rubicon Express steering stabilizer for no other reason than it's color. It seems like manufacturers only want to make these things in yellow or red - colors that don't look so good on my Green TJ. Rubicon Express is respected company, and since I'm already running their shocks, I figured that everything would match.

I installed this on my 2005 Wrangler TJ SE
 
Last edited:

Step 1 - Removing the existing stabilizer

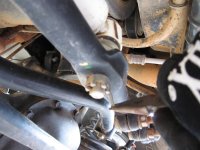
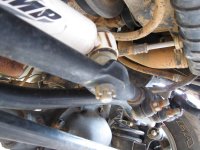
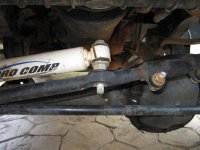
The steering stabilizer is held on by a nut and bolt on the axle side, and a nut and bolt that is pressed in on the steering side. This is what a normal stabilizer looks like:

wrangler-steering-stabilizer.jpg

old-stabilizer.jpg


To start, remove the nut and bolt that keep the axle side of the stabilizer mounted.

steering-stabilizer-axle-side.jpg


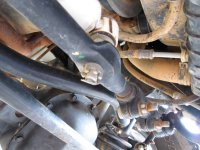
Next, remove the cotter pin (if installed) from the steering side

steering-stabilizer-steering-side.jpg

steering-stabilizer-cotter-pin.jpg

wrangler-steering-stabilizer-removing.jpg


Once the pin is out, you can take the nut off with a standard socket set.

tj-steering-stabilizer-nut-removed.jpg


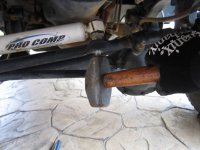
The give the bolt a tap or two with a hammer and it should pop out. No need to bash it like Thor's hammer, just smack it a few times and it should pop out.

tj-steering-stabilizer-BFH.jpg
 
Last edited:
Step 2 - Installing the new stabilizer

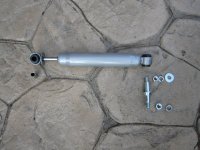
Here are the items included with my new Rubicon Express stabilizer.

rubicon-express-wrangler-steering-stabilizer.jpg


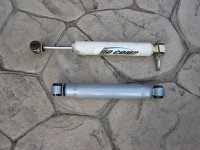
I don't know if the new stabilizer will function any better than the old one, but is sure does look better.

steering-stabilizer-compare.jpg


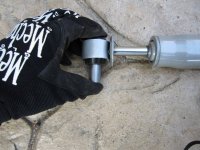
Now, to start setting up the new stabilizer. You'll need to press the metal sleeve into the axle (smaller side) of the stabilizer. I squirted a little silicon spray on before inserting it, but you could use water in a pinch.

steering-stabilizer-press-bushing.jpg


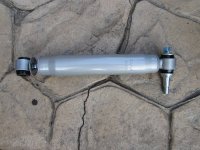
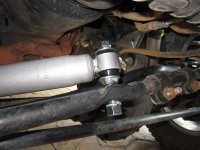
Here is what it looks like assembled and finger tightened.

steering-stabilizer-assembled.jpg


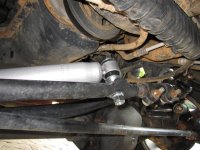
I started mounting the new stabilizer by installing the steering side. The only thing you need to do here is fit it in place then loosely bolt it down.

steering-stabilizer-new-install.jpg

steering-stabilizer-wrangler-tj.jpg


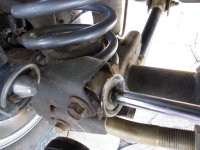
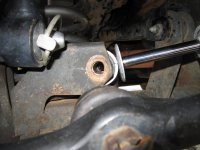
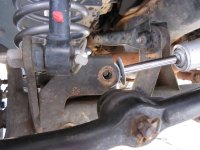
Pushing the axle side in is probably the most difficult part of the install. It took me a little work to get this side of the stabilizer mounted, but I was eventually able to do it. The problem was that the housing on each side of the stabilizer was pressed down tightly, and I couldn't get my bushing in there. I eventually used some pliers to open up the bracket a bit.

steering-stabilizer-mount.jpg

steering-stabilizer-wrangler-bracket.jpg

You're done. You should now go back and tighten everything down before going for a test drive.
 
Last edited:
Does it matter which way the stablizer is placed? Either having the fixed side of the stabilizer connected to the axe or vice versa.
 

I don't think it matters to the stabilizer, but you'll want to make sure you have plenty of clearance. I'd leave it in the stock position unless you have a reason.
 
Hey this stuff is so great and helpful. Love the pictures and easy to understand instructions. You could out do Chilton any day.
 
Thanks for this post. I just replace the unit on my 2005 Wrangler. I had the same issue with getting the bushing into the bracket on the passenger side of the stabilizer. I had a simple quick fix. I used a grinding wheel to sand down the rubber bushing by an 1/8th inch or so on each side. Worked like a charm.
 
Back
Top