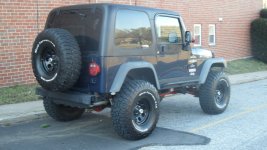
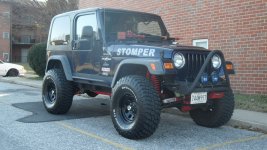
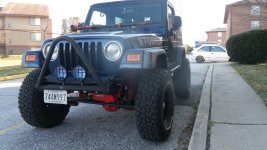
Jason4x4's 2006 TJ project

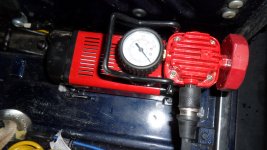
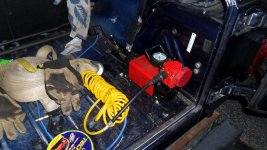
The SuperFlow MV50 is not intended to be hard mounted. It comes with a carrying bag, a coiled up hose that is roughly 20' long (guesstimating here) when stretched out, and a cord with an inline fuse and 2 alligator clips to hook it up to a car battery.

If you like you could just throw it in your Jeep and hook it up when needed. I however wanted to hard mount it so a) I wouldn't forget to bring it with me when I needed it and b) it wouldn't be rattling around the back of the Jeep.

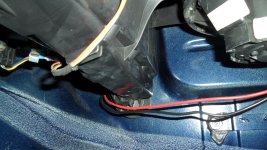
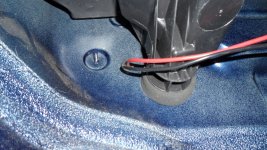
The compressor comes with four little rubber feet to keep it from sliding around while it runs. I popped the rubber feet out and used 4 self tapping screws to mount it to the rear of the Jeep, making sure there was enough clearance for the back seat when needed.
 

Attachments

  • SAM_0890.JPG
    SAM_0890.JPG
    1.9 MB · Views: 352
  • SAM_0888.JPG
    SAM_0888.JPG
    1.8 MB · Views: 478

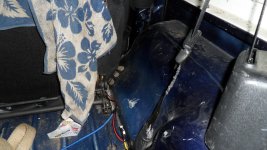
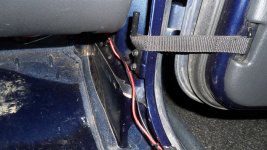
Now for the wiring. The cord that the compressor comes with is long enough to reach from where I mounted it to the battery (this is a TJ, I make no guarantee that the same is true for an LJ or 4 door JK (or 2 door JK for that matter).

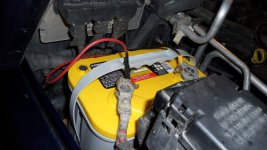
Initially I just routed the factory cord up the passenger side, cut off the alligator clips, drilled a hole in the firewall, ran the cord through the firewall, stripped it back and hooked it up to the battery terminals. Unfortunately I was blowing the inline fuse every time I turned the compressor on, so I ended up cutting the factory wires off (including the inline fuse) and running new 12ga wire and added a new inline fuse with the housing from AutoZone. Since I did that, I have had no problems with it whatsoever. There's a switch on the back of the compressor. Whenever I need air, I just hit the switch. The hose is long enough to reach all four tires easily from where the compressor sits. Here are some pictures of the wiring. Note: Be sure to use a grommet to protect the wires when you drill a hole in the firewall!
 

Attachments

  • SAM_0889.JPG
    SAM_0889.JPG
    1.8 MB · Views: 218
  • SAM_0893.JPG
    SAM_0893.JPG
    1.8 MB · Views: 228
  • SAM_0894.JPG
    SAM_0894.JPG
    1.8 MB · Views: 221
  • SAM_0895.JPG
    SAM_0895.JPG
    1.9 MB · Views: 224
  • SAM_0896.JPG
    SAM_0896.JPG
    1.9 MB · Views: 232
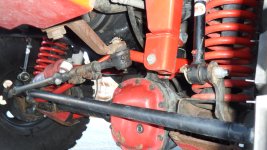
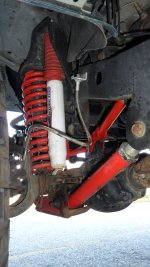
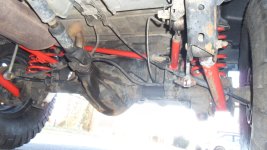
Last thing - the factory battery finally called it quits last week, so I upgraded to an Optima Yellowtop. No complaints so far. I was bored this past Sunday so I cleaned all the control arms and stuff with degreaser - probably wasted effort but at least I got to hang out under the Jeep for a while :).
 

Attachments

  • SAM_0876.JPG
    SAM_0876.JPG
    2.1 MB · Views: 242
  • SAM_0877.JPG
    SAM_0877.JPG
    2.1 MB · Views: 306
  • SAM_0878.JPG
    SAM_0878.JPG
    1.9 MB · Views: 241
  • SAM_0886.JPG
    SAM_0886.JPG
    1.9 MB · Views: 241
  • SAM_0882.JPG
    SAM_0882.JPG
    1.9 MB · Views: 217
  • SAM_0881.JPG
    SAM_0881.JPG
    1.9 MB · Views: 222
Oh, almost forgot to review the compressor! Once I solved the fuse-blowing issues, it works great. I usually run about 8-9psi on the trail and 20psi on the street (may sound low, but on my setup it gives me the best contact and most even wear). The SuperFlow MV50 will air my tires up from "trail level" to "street level" in about 2 minutes per tire. I haven't had any problems yet but will let you know if anything comes up.
 
What kind of Fog Lights are those?

Sorry for the delayed response. They're just a cheap set of "4x4" fog lights from AutoZone. I think I paid like $30 for them. As mentioned earlier in the thread, I had factory fog lights but one was broken off. I tried unsuccessfully to find a replacement factory fog at the junkyard and found those at AutoZone and decided they looked about the same as the factory ones and were cheaper than a KC or factory replacement. They came with an aftermarket switch/wiring harness/fuse block but since I had the factory fog light wiring I just spliced the factory wiring to the lights so they function just like the factory lights.
 
Preparing to install a set of Poison Spyder DeFenders (Zero Flare) here in the next week or so. In preparation I went ahead and installed a set of Drake Offroad hood pins. Here's a couple pics. Let me know if you have any questions about the install, but it's pretty straightforward. The instructions that come with the kit are pretty good but they do contain a couple of errors.

Basically, there are two 10mm nuts on the inside of each side of the hood (4 nuts total) holding on the upper latches. Take those off and you can remove the stock upper latches. You then take the upper latches that come with the kit and install them in the same location using the hardware included with the kit (i.e. 2 4mm hex bolts + 10mm locking nut/washer per side (4 hex bolts total)). Don't forget to install the gasket that comes with the kit. Pro tip: The washers go on the inside of the hood.

Then you have to go in each wheel well and remove the single bolt holding the lower latch to the fender. Here's where the instructions start to show errors. The instructions call for a 15mm socket, however the bolt on my '06 was 13mm. Anyway, remove the nut and the whole stock latch comes off. Do this on both sides (2 nuts total).

Next, you have to remove the allen bolt holding the turnbuckle to the latch assembly on the new Drake latches. The instructions in my kit called this a 5mm bolt but I found it to require a larger wrench. I believe it was a 6 or 7mm. When you remove this bolt the turnbuckle and the 2 small bushings will come out. Be careful not to lose the bushings. Take the latch (minus the turnbuckle/bushings) and place a gasket from the kit on each one. Then grab the new 5mm hex bolt from the kit and install this on each side.

Next, it's back under the Jeep to attach the nuts/washers included with the kit (1 per side, 2 total) to hold the latches in place.

Finally, reinstall the turnbuckles in each side by positioning a bushing on the back of the latch (there's a place for it to rest, if you're actually installing them you'll know what I mean), then positioning the turnbuckle and carefully starting to slide the other bushing in place. Get the hex bolt started, and if everything's lined up correctly and you can slide it through both bushings and the turnbuckle. Tighten that hex bolt up.

The last thing to do is close the hood. Insert the pins into the top latch and top of the turnbuckle. Then you just rotate the turnbuckle until the hood is just resting on the factory rubber bumper (or however you want it adjusted). Tighten the two locking nuts on each side, and you're done.
 

Attachments

  • SAM_0915.JPG
    SAM_0915.JPG
    1.9 MB · Views: 451
  • SAM_0916.JPG
    SAM_0916.JPG
    1.8 MB · Views: 309
  • SAM_0917.JPG
    SAM_0917.JPG
    1.9 MB · Views: 311

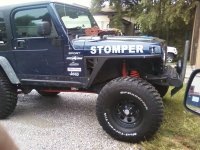
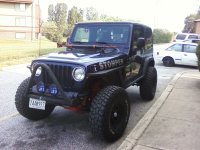
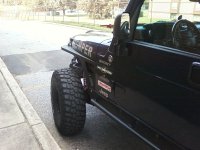
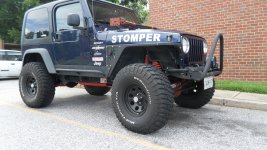
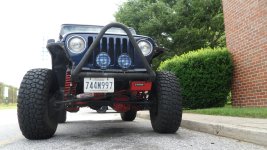
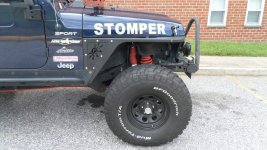
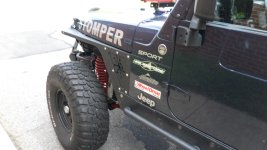
Poison Spyder DeFenders - Zero Flare
 

Attachments

  • 0523121711.jpg
    0523121711.jpg
    505.4 KB · Views: 211
  • 0523121754.jpg
    0523121754.jpg
    683.3 KB · Views: 231
  • 0528121725.jpg
    0528121725.jpg
    593.5 KB · Views: 207
  • 0528121726.jpg
    0528121726.jpg
    550.5 KB · Views: 220
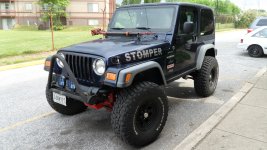
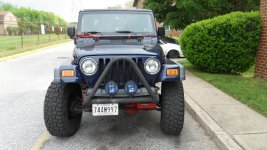
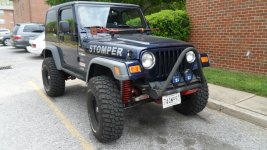
Poison Spyder Defenders are finished.
 

Attachments

  • SAM_0919.JPG
    SAM_0919.JPG
    1.9 MB · Views: 112
  • SAM_0922.JPG
    SAM_0922.JPG
    1.8 MB · Views: 111
  • SAM_0921.JPG
    SAM_0921.JPG
    1.8 MB · Views: 103
  • SAM_0924.JPG
    SAM_0924.JPG
    1.8 MB · Views: 101
Back
Top